Preface
This is a very brief, down and dirty
explanation of how to bypass Apple's compressor application and
use QuickTime Conversion instead. If Compressor is giving you
any trouble at all, you can use this method. Following the QuickTime
Conversation process, an extremely brief instruction on using
A.Pack to convert 2-Channel AIF to 2-Channel AC3 is also provided.
Getting Started
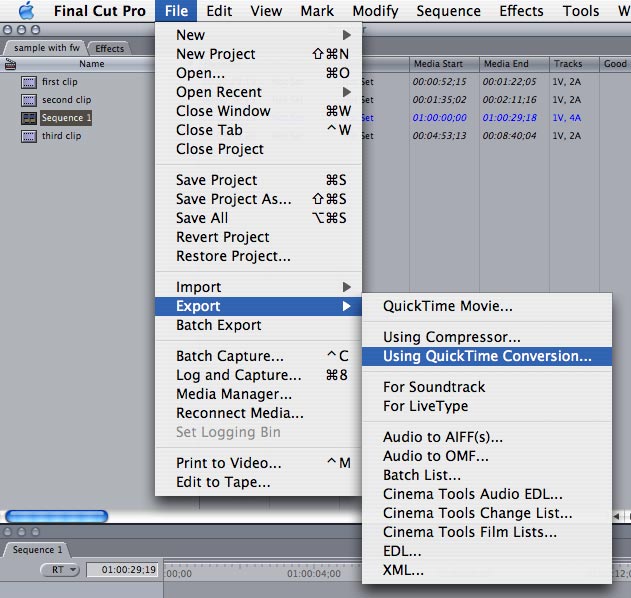
Within Final Cut Pro 4, select your completed
sequence in the bin.
Using the pull-down menus, select File
> Export > Using QuickTime Conversion...
A Save prompt will appear. At the bottom
of the Save prompt box, choose Format.
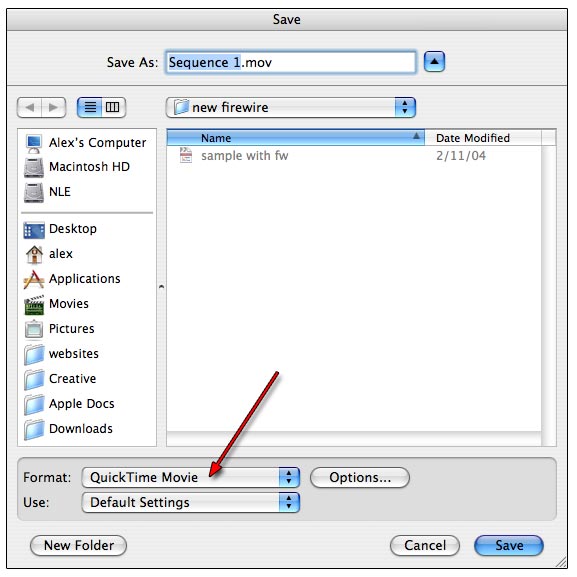
Using the format selection type, select
MPEG2.
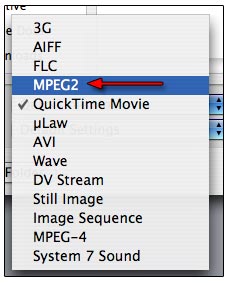
Once MPEG2 has been selected, choose
the Options button.
Here you can adjust the type of encode.
CBR (Constant Bit Rate), aka One Pass, One-Pass VBR (Variable
Bit Rate), or Two-Pass VBR (the slowest of all three).
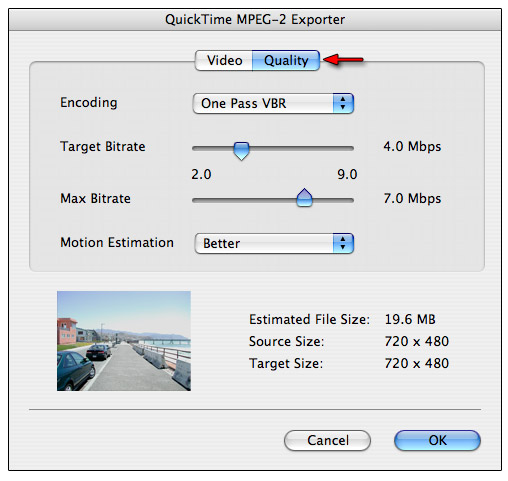
Note that the One Pass option does not
state VBR, as the other two options state. Choosing this option
will yield only the top slider for Target Bit Rate.
Using VBR will allow you to set the the
Target Bitrate and a Max Bitrate. The minimum difference
between Target Bitrate and the Max Bitrate must be at least .5,
however 1.0 would be better. Underneath these options, you have
Motion Estimates. You can leave the default set to: Better,
however Best is the best.
Once you have made your choices, choose
the final location where the .m2v and .aif files should write
to for final output.
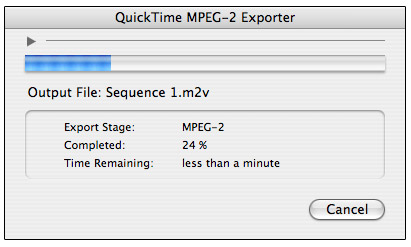
At this point, the encoder starts writing
your MPEG2 and AIFF files to the hard disk.
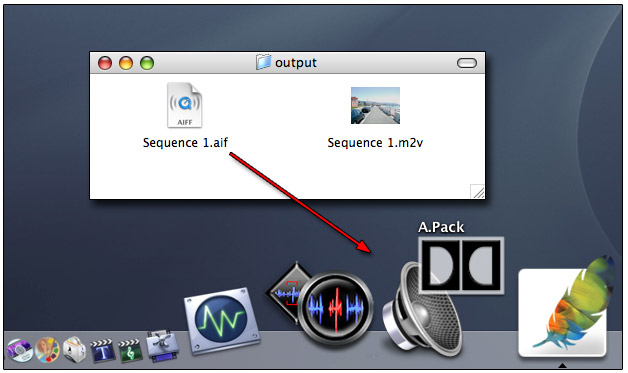
You can further reduce the size of the
encoded AIFF file with the use of A.Pack. Launch A.Pack from
either the /Applications folder or your dock, wherever you have
it.
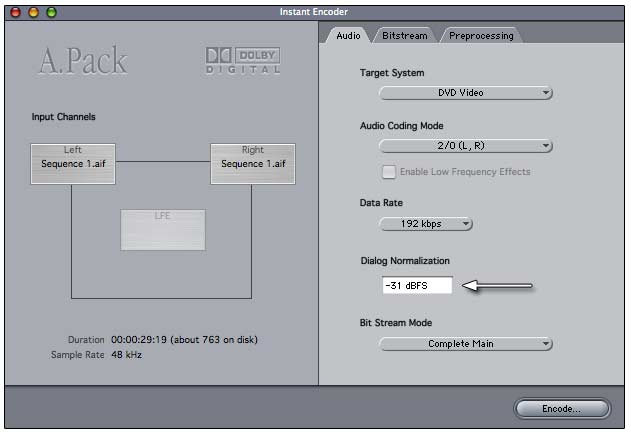
Drag the sequence AIF file to the left
Input Channel on the Instant Encoder screen.
You will be prompted to select an input
channel. Since you used drag-and-drop on the left Input Channel,
it will default its offer to bring in the left channel of the
AIF file. Select OK. Do the same for the right channel.
On the right side of the Audio tab in
the Instant Encoder window, adjust the Audio Coding Mode from
its default of 5.1 to 2/0 (L, R). Also adjust the Data Rate from
its default of 448 kbps to 192 kbps.
Set the Dialog Normalization to
-31 dBFS. This ensures that sound levels will not be altered.
Select the Preprocessing tab of
the Instant Encoder. The default of Film Standard Compression
should only be used when you are encoding an original mix intended
for cinema. Change this setting to None. You are now ready
to encode.

Note the default extension of the file
type is no longer AIF, but instead, AC3. Choose the file destination
and select Save.
Your AIF to AC3 encode begins.
You should now have an .AC3 file in addition
to the .AIF file. You only need one. You can now import the .m2v
video and .AC3 audio assets into the asset bin of DVD Studio
Pro 2 and prepare your DVD project.
©Copyright 2004 Alex Alexzander
All Rights Reserved