|
   
| Tutorial: Final Cut Pro X Share Export Problems |
May, 2013
Final Cut Pro X Share Export Problems
by Richard Taylor
There have been a lot of reports recently about Share and Export problems in Final Cut Pro X. In this troubleshooting article I go over some of the methods that I use along with reports I have seen on Apple discusions, Creative Cow forums and a few other places on the web. Always back up your media, events and projects before performing any troubleshooting.
Two common problems are the Share menu is grayed out or the Share export fails.
I've divided this page into two sections but some of the steps below could help solve either problem.
Share menu is grayed out
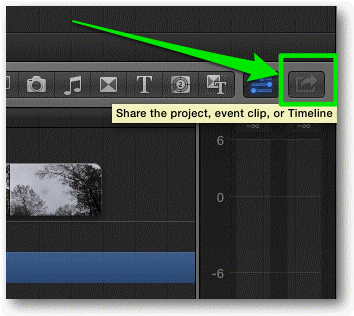
01) Make sure you have a Project selected in the Project Library...
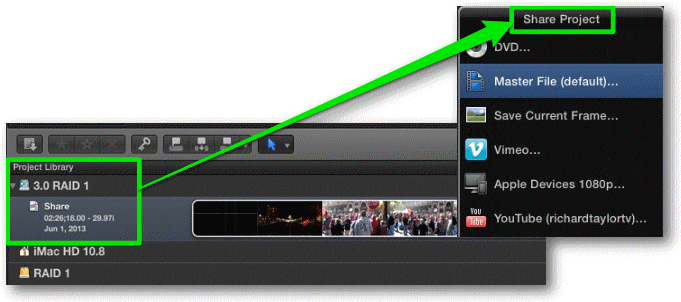
...or have a project or compound clip timeline as the main focus window.
You will get different Share options depending on which you have selected.
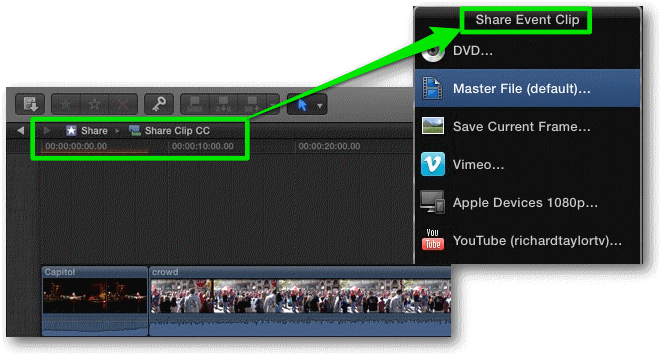
If you are sharing your timeline, make sure nothing is selected in the timeline by hitting Command Shift A (deselect all).
If you have a range selected in the timeline you would just be sharing the selected range.
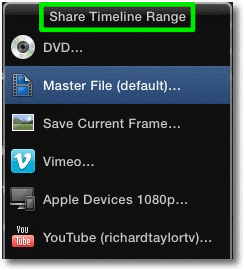
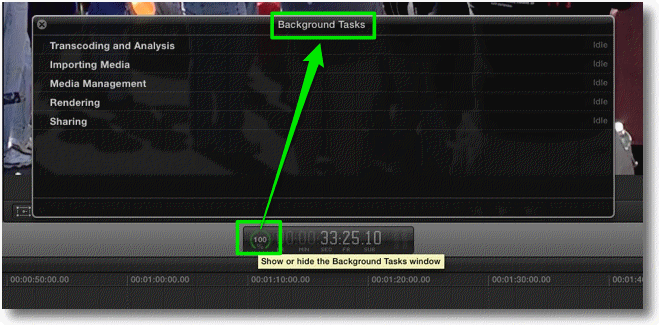
02) Make sure there are no background tasks running.
You can view any background activity by clicking on the background task icon in the top of the timeline.
If they are running, wait until they are finished or cancel them.
03) Make sure you have plenty of hard drive space on your destination hard drive.
If Final Cut Pro estimates there is not enough space for the exported file on your destination hard drive, the Share menu could be grayed out.
04) Right click Event media files and choose "Reveal In Finder".
Play each file in the Finder. If you find a clip that won't reveal in finder or won't play, that is your problem.
Replace the file with known good media or delete it from your timeline.
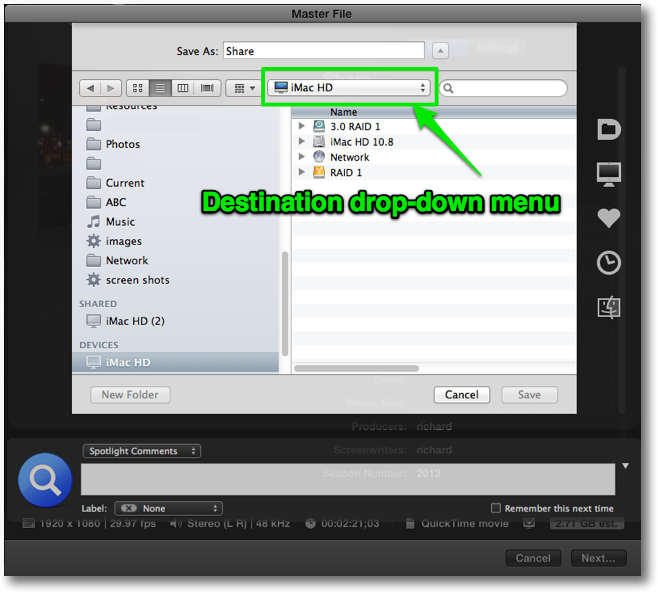
05) Try sharing to a different destination hard drive.
There have been reports of problematic external and internal drives.
Once you choose Next... at the bottom of the Share menu

You can choose the Destination hard drive.
06) Try Sharing another timeline in a different project or event.
This will help determine if the problem is with a specific timeline or with Final Cut Pro in general.
07) Quit and restart Final Cut Pro.
Also try rebooting your Mac.
08) Trash Final Cut Pro's preferences.
Make a backup copy on a flash drive and then delete the FCPX preference files located here:
User > Library > Preferences > com.apple.FinalCut.plist and
User > Library > Preferences > com.apple.FinalCut.LSSharedFileList.plist.
And for Lion also delete:
User > Library > Preferences > com.apple.FinalCut.plist.lockfile

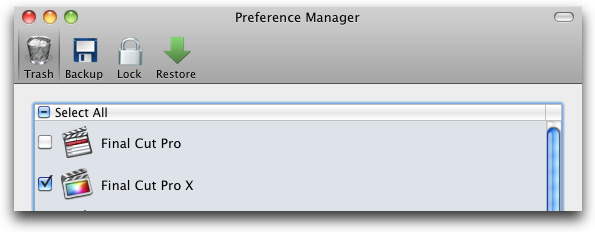
Quit FCPX, backup and trash these preference files and relaunch FCPX. Or use the very handy and free Preference Manager 3.0 to backup and trash your FCPX preferences. Once you get FCPX running smoothly, make a backup of your preferences for future restore with Preference Manager.
09) Relink all files in the Project and Event.
Select the Project or Event and go to File > Relink

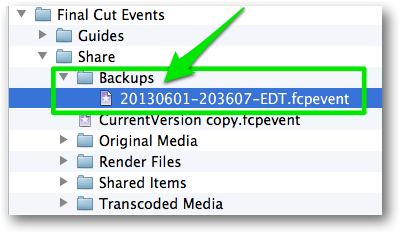
10) Open the Backups version of the Event.
Quit FCPX. Duplicate the CurrentVersion.fcpevent file inside of the Final Cut Events folder as a safety copy by right clicking on it and choosing Duplicate from the drop down menu. Then delete the original file.
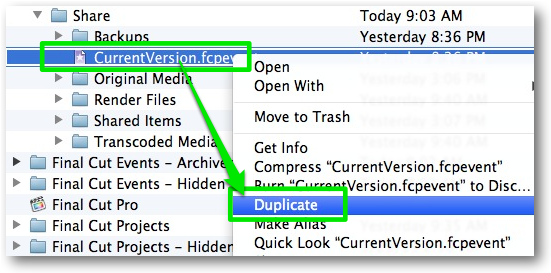
Restart Final Cut Pro. The Backup fcpevent file will be used when FCPX can't find the original event file.
Try to Share again.
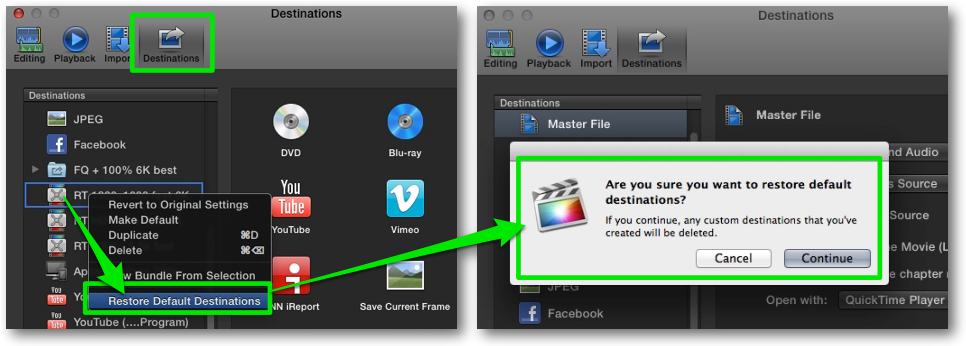
11) Restore your Destinations.
In FCPX's Preferences > Destinations, right click on a Destination and choose "Restore Default Destinations".
Be aware you will lose any custom destinations you've created if you do this.
Share fails with a Frame error or Quicktime error,
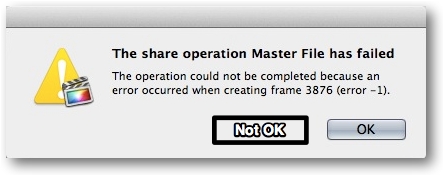
When you see this error, take a screen shot of it for reference.
Try steps 4 through 11 above and in addition:
12) Delete the project and event render files and don't re-render.
Select the Event and Project and then go to File > Delete Render files.
Keep Background render unchecked in Playback Preferences.

13) Select all of your timeline clips then copy and paste them into a new Project timeline.
See if you can Share this new timeline.
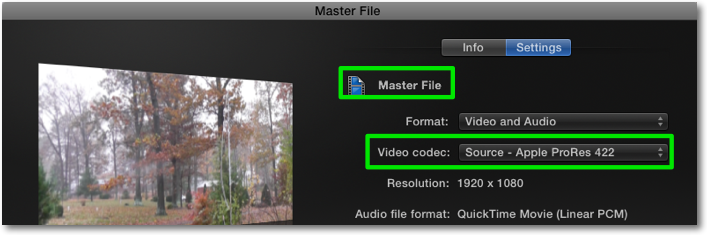
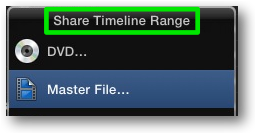
14) From the Share menu choose Master File.
Make sure its settings are the default codec Apple ProRes 422.
15) Set Editing Preference to display Frames from the Time Display drop-down menu.
Then take a look at the frame number timeline location, referenced in the Share error.
Replace, relink or delete the clip located there and try to Share again.

16) Media files can become corrupt.
You'll need to replace any damaged media with good media or delete the clips from your timeline.
You can reimport good media to replace damaged media from a camera or camera archive.
Here is a detailed article explaining reimporting from a camera or camera archive:
http://revuptransmedia.com/index.php/component/content/article/40-tutorials/170- reimport
17) Try sharing a small section of the timeline.
Select a range in the timeline by setting an in and out point and then try to Share just that range.
If that is successful there is a probably a problem with a specific clip. Use a process of elimination to narrow down any problem clips and replace or delete those clips.
18) If your export fails with a Chapter Marker error,
make a Duplicate of your timeline and open it. Delete your markers a few at a time until you can successfully Share your timeline. (If you put all of your markers in a master clip,- (http://www.fcpx.tv/Pages/timelinemarkers.html) you can cut and paste the markers clip into another timeline for reference). If you are in a hurry you can delete all markers by selecting all timeline clips and visiting the menu Mark > Markers > Delete Markers in Selection or use the keyboard selection
Ctrl - Shift - M.
Copyright © 2013 Richard Taylor. All rights reserved.
Apple, ProRes and Final Cut Pro X are registered trademarks of Apple Inc
.
Richard Taylor is a Level 2 Apple Certified Trainer for Final Cut Pro and does on-site FCP training and consulting in the Washington DC/Baltimore Maryland area. He can be reached via his Final Cut Pro X website FCPX.TV or on Twitter @RichardTaylorTV
|