By Rick Young
Having spent time with Final Cut Pro X I have found my way around much of the program without too much trouble. Yes this is very different to all the previous versions, yet most of it surprisingly simple and powerful. I'm still new to the software so reserve judgement pending real world tests, however, for the moment I am positive.
One of the letdowns for me has been audio. In Final Cut Pro 7 I could easily open the Audio Mixer and mix my tracks using the mouse for
single tracks or stereo pairs and record the fader moves as keyframes. In my own edit suite, a control surface with 8 separate faders made
audio mixing a joy. No such capability exists with Final Cut Pro X.
Okay - I figure - so I'll mix my audio in the Timeline of FInal Cut Pro X.
In Final Cut Pro X each video clip has audio married to it - it appears as a single unit, no doubt to avoid confusing those who cannot handle
the concept of separate video and audio.

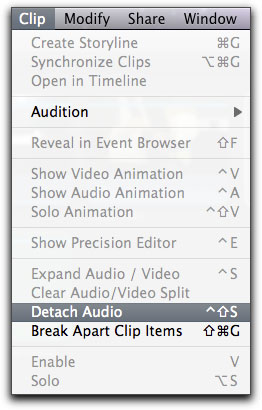
However, for those who need and must have separate audio and video, then simply highlight a clip or
clips in the Timeline and choose Detach Audio from the Clip menu.


You are now presented with a single audio track and above it the video track. You can now separate audio
from video by dragging.

By referring to the Inspector you can view the two separate mono or stereo tracks and adjust volume, pan
of for the audio.
But what if you want to actually edit these as two separate audio tracks. The default for earlier versions of Final Cut Pro was 2 tracks, whereas Final Cut Pro only provides a single track.
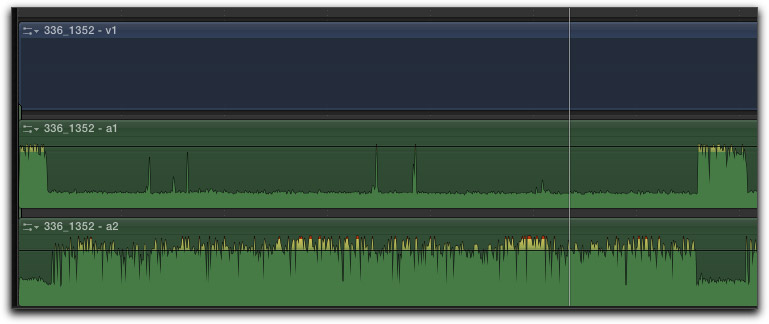
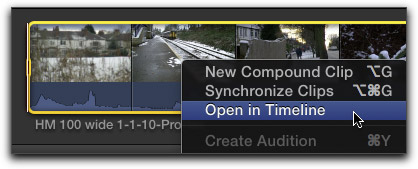
It can be done. Control Click on the audio of the clip in the Final Cut Pro X Timeline and choose Open in Timeline.


This works whether the audio is detached or not. The clip opens up to reveal the 2 separate audio tracks and you can edit these as you wish, as separate tracks - razor blading, keyframing the mix as you need it to be.

To return to the complete Timeline of your edit press the back arrow top left of the Timeline.

Changes in the audio mix are then reflected in the mix on playback. Furthermore, check the tracks in the Inspector and you now have an interesting display showing each edit on the tracks as separate tracks. Don't be confused by this. It is simply a visual representation of where the tracks have been razor bladed or split apart. And, much to my delight, the audio meters now reflect the two audio tracks and you can return to the Inspector to set the pan.
You can achieve the same results in the Event Browser by Control clicking on the clip and selecting Open in Timeline.

Happy editing! The power to mix and sculpt your sound as you need to is there, though Apple if you're listening, please include an audio mixer in the next release please!
copyright © Rick Young 2011
This article first appeared on www.kenstone.net and is reprinted here with permission.
All screen captures and textual references are the property and trademark of their creators/owners/publishers.